Swift UI 사용
* Objective-C 형태의 가이드는 제공되지 않습니다.
세로모드 고정
* 런처 화면은 세로모드만 지원하므로 화면이 세로모드로 고정되어야 합니다.
* 아래와 같은 세로모드 잠금 기능이 추가되었습니다.
swift
import SwiftUI
@main
struct blp_sample_app_iosApp: App {
@UIApplicationDelegateAdaptor(AppDelegate.self) var appDelegate
var body: some Scene {
WindowGroup {
ContentView()
}
}
}
class AppDelegate: NSObject, UIApplicationDelegate {
func application(_ application: UIApplication, supportedInterfaceOrientationsFor window: UIWindow?) -> UIInterfaceOrientationMask {
return .portrait
}
}
1단계: 최상위 ContentView 파일 생성
최상위 ContentView 파일에 1개의 NavigationStack 을 두고 하위 View들을 컨트롤 합니다.
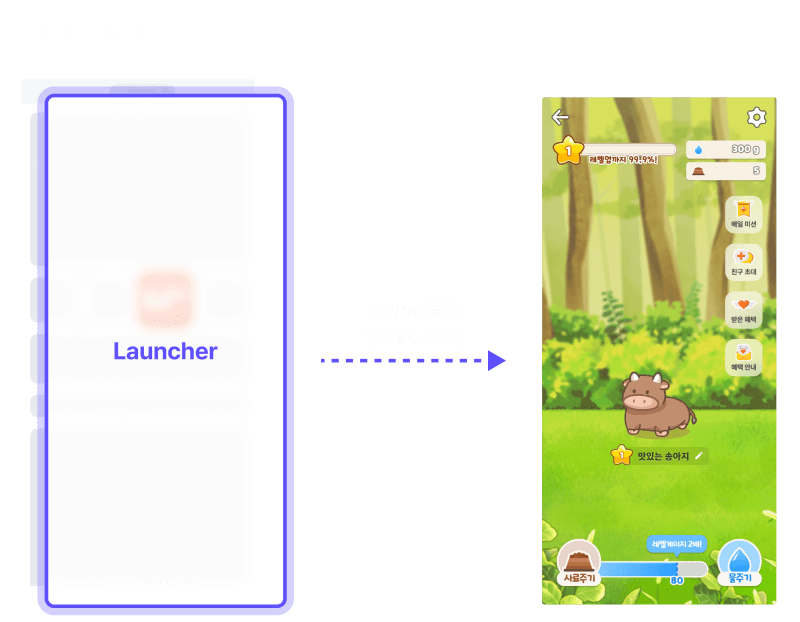
클라이언트의 기본 앱 화면을 HomeContentView 라고 가정 하였으며, navigationDestination 를 통해 블리피 런처화면을 보여줄 LauncherContentView 화면으로 이동할 케이스를 선언하였습니다.
swift
import SwiftUI
struct ContentView: View {
@StateObject private var navigationModel = NavigationModel()
var body: some View {
NavigationStack(path: $navigationModel.path) {
HomeContentView(navigationModel: navigationModel)
.navigationDestination(for: NavigationDestination.self) { destination in
switch destination {
case .launcher:
LauncherContentView(navigationModel: navigationModel)
}
}
}
}
}
#Preview {
ContentView()
}
Navigation 전환을 위해 선언한 기본적인 NavigationModel 클래스 파일입니다.
swift
import Foundation
enum NavigationDestination: String, Identifiable {
case launcher
var id: String { rawValue }
}
class NavigationModel: ObservableObject {
@Published var path: [NavigationDestination] = []
}
2단계 : 블리피 런처 WebView 파일 생성
블리피 런처는 Web URL 형태로 제공되기 때문에 런처를 띄울 WebView 구조체가 필요합니다.
swift
import WebKit
import SwiftUI
struct LauncherWebView: UIViewRepresentable {
let url: URL
let onCloseLauncher: () -> Void
class Coordinator: NSObject, WKNavigationDelegate, WKScriptMessageHandler {
var parent: LauncherWebView
init(parent: LauncherWebView) {
self.parent = parent
}
func webView(_ webView: WKWebView, didFinish navigation: WKNavigation!) {
}
func userContentController(_ userContentController: WKUserContentController, didReceive message: WKScriptMessage) {
if message.name == "closeLauncher" {
parent.onCloseLauncher()
}
}
}
func makeCoordinator() -> Coordinator {
Coordinator(parent: self)
}
func makeUIView(context: Context) -> WKWebView {
let webView = WKWebView()
let contentController = webView.configuration.userContentController
contentController.add(context.coordinator, name: "closeLauncher")
webView.navigationDelegate = context.coordinator
let request = URLRequest(url: url, cachePolicy:NSURLRequest.CachePolicy.reloadIgnoringLocalAndRemoteCacheData, timeoutInterval: 10.0)
webView.load(request)
return webView
}
func updateUIView(_ webView: WKWebView, context: Context) {
}
static func dismantleUIView(_ uiView: WKWebView, coordinator: Self.Coordinator) {
uiView.configuration.userContentController.removeScriptMessageHandler(forName: "closeLauncher")
}
}
3단계 : 블리피 런처 ContentView 파일 생성
블리피 런처를 보여줄 LauncherContentView 파일을 생성합니다.
swift
import SwiftUI
import WebKit
struct LauncherContentView: View {
@ObservedObject var navigationModel: NavigationModel
var body: some View {
LauncherWebView(
url: URL(string: "런처 URL 정보"),
onCloseLauncher: {
handleCloseLauncher()
},
)
.navigationBarBackButtonHidden(true)
}
private func handleCloseLauncher() {
navigationModel.path.removeLast()
}
}
#Preview {
LauncherContentView(navigationModel: NavigationModel())
}